Water damage in basements is a common issue for homeowners, potentially leading to expensive repairs. A damp basement can cause mold growth, structural issues, and reduced property value. But here's the good news: you don't always need professional help. With proper tools and techniques, you can tackle the problem yourself and save up to 30% on repair costs.
Assessing the Problem: Where's the Leak?
The first step is identifying the source of water intrusion. Not all leaks are created equal. Some are caused by cracks in foundation walls, while others result from clogged gutters or poor drainage. Check for visible cracks, standing water on the floor, or water stains on walls. Don’t ignore musty odors or peeling paint. These are often signs of hidden moisture.
Sometimes, it's not a leak but condensation. Place a piece of aluminum foil on the wall for 24 hours. If moisture collects on the side facing the wall, it’s a leak. If it’s on the outside, you’re dealing with humidity. This simple test can save you from unnecessary work.
For external causes like clogged gutters, consider reading A Beginner's Guide to Caulking and Sealing at Home for tips.
Prep Work and Materials
Before sealing your basement, you’ll need to gather materials. Here’s a quick list:
| Material/Tool | Purpose | Approx. Cost ($) | |-----------------------|---------------------|-----------------| | Hydraulic Cement | Crack sealing | $20-$50 | | Waterproof Paint | Wall coating | $30-$120 | | Dehumidifier | Managing humidity | $150-$1,200 | | Caulking Gun | Applying sealant | $10-$25 | | Gravel and Drain Tile | Exterior drainage | $100-$300 |
Don’t skip the prep work. Clean all surfaces thoroughly to ensure the waterproofing materials adhere properly. Remove loose paint and debris using a wire brush or scraper. Wash walls with a mix of water and mild detergent, then let them dry completely.
If you’re dealing with cracks, use hydraulic cement to patch them. It expands as it cures, ensuring a tight seal. Apply it quickly, this stuff sets in about 3-5 minutes.
For guidance on caulking techniques, check out A Beginner's Guide to Home Insulation.
Step-by-Step Waterproofing Process
Step 1: Seal Cracks and Gaps
Start by filling any visible cracks with hydraulic cement. Mix it according to the package instructions, it’s usually a simple water-and-powder mixture. Press the cement firmly into the crack with a putty knife. Smooth the surface to match the surrounding wall. Let it cure for 24 hours.
Step 2: Apply Waterproof Paint
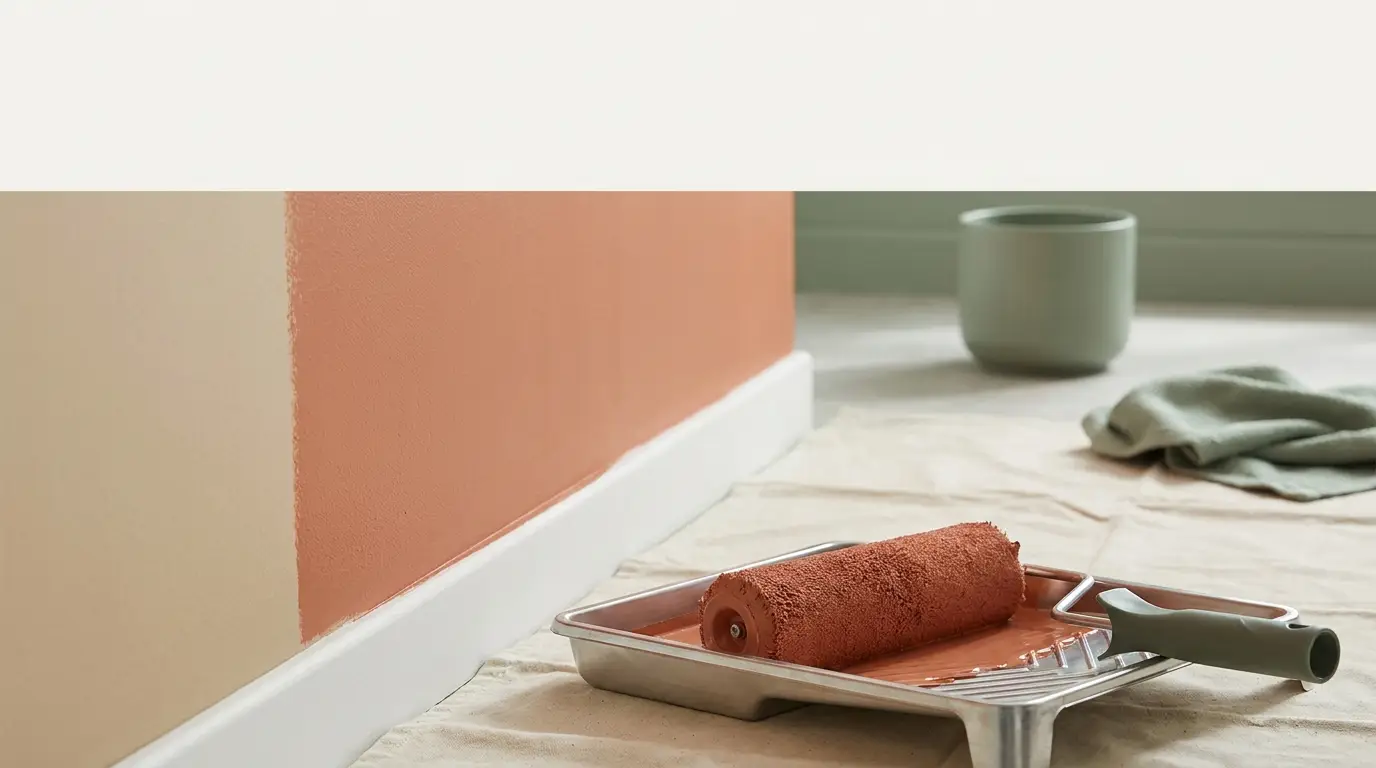
Once the cracks are sealed, coat the walls with a waterproof paint like Drylok or Xypex. These products work by forming a water-resistant barrier. Use a thick brush or roller to apply the first coat, ensuring full coverage. Allow it to dry, then apply a second coat for maximum protection. Two coats are essential for durability.
Step 3: Improve Exterior Drainage
Waterproofing isn’t just about the inside. If water pools around your foundation, it’ll find its way in. Install gravel and drain tiles around the perimeter of your home. This redirects water away from the foundation and reduces hydrostatic pressure. A good exterior drainage system can cut the risk of leaks by 25%.
Step 4: Manage Humidity
Sometimes it’s not just water; it’s moisture in the air. Running a dehumidifier like the Frigidaire FFAD5033W1 (500 W) can reduce humidity by up to 50%. Aim for a humidity level between 30% and 50% to prevent mold growth. Place the dehumidifier in the basement's center for even air circulation.
Maintenance Tips
Waterproofing isn’t a one-and-done task. Here’s how to ensure your basement stays dry:
- Check your gutters every 6 months to prevent clogs.
- Inspect sealed cracks yearly for signs of wear.
- Reapply waterproof paint every 8-10 years, or sooner if peeling occurs.
- Monitor humidity levels regularly. If they creep above 50%, run a dehumidifier.
Routine checks cost nothing but can save you hundreds in potential repairs.
FAQ
How much does basement waterproofing cost?
DIY waterproofing costs range from $250 to $1,000 depending on the size of your basement and the materials used. Professional services can cost upwards of $5,000.
Can I waterproof my basement without professional help?
Yes, you can! Using products like hydraulic cement ($20-$50) and waterproof paint ($30-$120) can effectively seal most leaks. For severe issues, though, you might need professional intervention.
How often should you reapply basement waterproofing paint?
Most waterproofing paints like Drylok last 8-10 years when applied correctly, but high-moisture basements might require reapplication every 5 years.
What’s the best way to test for basement leaks?
Try the foil test. Tape aluminum foil to the wall and leave it for 24 hours. Moisture on the outside means humidity, while moisture on the inside signals a leak.
Can a dehumidifier replace waterproofing my basement?
No, it can’t. A dehumidifier helps control humidity but won’t address structural issues like cracks or external water pooling. Use it as part of a thorough waterproofing plan.
Are drain tiles expensive to install?
The cost of drain tiles varies based on materials and labor. For DIY projects, you can expect to spend around $100-$300 on materials alone.