A dripping shower faucet wastes hundreds of gallons of water each year, costing you money. A leak of just one drip per second can waste over 3,000 gallons annually, adding $20 to $50 to your water bill. You can fix most common shower faucet leaks yourself with basic tools, often for less than $50 in parts.
Quick answer: To repair a leaky shower faucet, first shut off the water supply. Identify your faucet type (cartridge, compression, or ball). Disassemble the handle and trim, then remove and replace worn components like O-rings, washers, or the entire cartridge. Reassemble everything, turn the water back on, and check for leaks. This process usually costs $5 to $50 and takes 1-3 hours.
Identify Your Faucet Type
Before you can fix a leaky shower faucet, you'll need to know what type it's. There are three main types commonly found in homes: compression, cartridge, and ball faucets. Each type has distinct internal components and repair methods. Misidentifying it can lead to frustration and wasted time.
Compression Faucets
These are older, two-handle faucets (one for hot, one for cold). You'll usually twist the handle multiple times to turn the water on or off. Leaks often come from worn rubber washers or O-rings under the handle. These components press down to stop water flow. Over time, the rubber hardens and cracks, failing to create a tight seal. Compression faucets are responsible for 35% of household leaks due to their numerous moving parts.
Cartridge Faucets
Cartridge faucets are common in single-handle designs, though some two-handle models exist. You typically push the handle up and down for water volume and side-to-side for temperature. The internal cartridge mixes hot and cold water. When a cartridge faucet leaks, it's almost always a worn-out or cracked cartridge. This plastic or brass cylinder contains internal ports and seals that control water flow. Replacements can cost $20 to $50 for branded parts like those from Moen or Delta.
Ball Faucets
Ball faucets are exclusively single-handle designs. They feature a rotating metal or plastic ball inside the faucet body. This ball has slots and springs that regulate water flow and temperature. These faucets are common in kitchens but less so in showers. Leaks usually point to worn springs, O-rings, or the ball itself. They have more parts than cartridge faucets, making them slightly more complex to repair.
Tools and Materials You'll Need
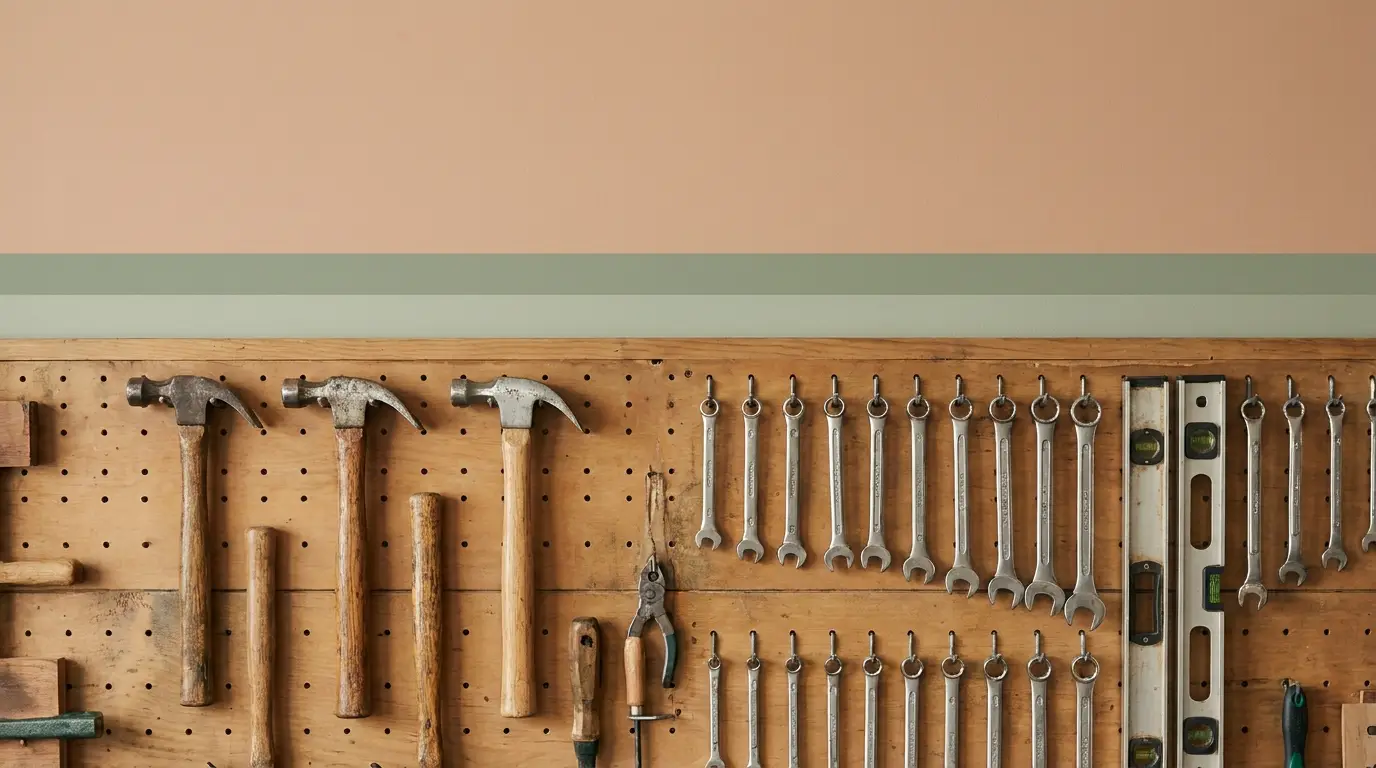
Gathering your tools and replacement parts before you start saves you trips to the hardware store. You'll likely have most of these items already. Don't skip safety glasses.
| Tool/Material | Estimated Cost ($) | Purpose | | :-------------------- | :----------------- | :----------------------------------------------------- | | Phillips/Flathead Screwdriver | $5 - $15 | Removing handle screws, trim plates. | | Adjustable Wrench | $15 - $30 | Loosening/tightening nuts. | | Pliers | $10 - $25 | Gripping small parts, pulling cartridges. | | Utility Knife | $5 - $10 | Cleaning old caulk or sealant. | | Hex Keys (Allen Wrenches) | $10 - $20 | For set screws on some faucet handles. | | Faucet Grease (Silicone) | $5 - $10 | Lubricating O-rings and seals. | | Replacement Parts | $5 - $50 | Washers, O-rings, springs, or a new cartridge. | | Distilled White Vinegar | $3 - $5 | Cleaning mineral deposits. | | Safety Glasses | $5 - $15 | Eye protection. | | Cloths/Rags | $2 - $5 | Wiping, protecting surfaces. |
Before purchasing replacement parts, disassemble your faucet. Take the old part with you to the store. This ensures you get the exact match. Major brands like Kohler and American Standard use proprietary cartridge designs, so a precise match is critical. You can often find replacement part numbers stamped directly on the old cartridge or within the faucet's manual.
Consider having some spare O-rings or washers on hand. They're inexpensive. A multi-size O-ring kit, costing about $10, can be a smart purchase for future repairs.
Step-by-Step Repair Guide
This guide covers common repairs for each faucet type. Remember, always turn off the water supply first. You don't want a surprise shower.
Step 1: Shut Off the Water Supply
Locate the main water shut-off valve for your home or, if available, the shut-off valves for the bathroom. Turn them clockwise until the water flow stops completely. This is a non-negotiable first step. Test by turning on the shower. No water should come out.
Step 2: Disassemble the Faucet Handle and Trim
Use a screwdriver or hex key to remove the set screw holding the handle. This screw is often hidden under a decorative cap. Pull the handle off. Then, remove any escutcheon plates or trim rings. You might need a utility knife to score old caulk around the trim. Be gentle to avoid scratching the finish.
Step 3: Repair Your Specific Faucet Type
For Compression Faucets:
- Remove the Packing Nut: Use an adjustable wrench to loosen and remove the large hexagonal packing nut around the faucet stem.
- Extract the Stem: Pull the stem assembly out. It might require a little wiggling.
- Replace Washers and O-rings: You'll see a rubber washer at the bottom of the stem and possibly O-rings around the stem itself. Remove the screw holding the washer. Replace both the washer and any O-rings. Apply a thin coat of faucet grease to new O-rings.
- Clean and Reassemble: Clean any mineral deposits from the stem and faucet body with distilled white vinegar. Reinsert the stem, tighten the packing nut (don't overtighten), and put the handle back on.
For Cartridge Faucets:
- Remove the Retaining Clip/Nut: After removing the handle and trim, you'll see the cartridge. It's often held in place by a retaining clip (a small U-shaped pin) or a large retaining nut. Use needle-nose pliers to pull out the clip. For a nut, use an adjustable wrench.
- Extract the Cartridge: Pull the cartridge straight out. You might need a cartridge puller tool for stubborn ones, costing around $15. Some manufacturers, like Delta, provide a plastic removal tool with new cartridges.
- Insert New Cartridge: Align the new cartridge exactly as the old one was. There's often a "H" for hot or a notch that must face up. Push it firmly into place.
- Reassemble: Replace the retaining clip or nut. Reattach the trim and handle.
For Ball Faucets:
- Remove the Cap and Cam Assembly: After the handle and trim are off, unscrew the cap. Beneath it, you'll find the cam, washer, and ball assembly.
- Remove the Ball and Springs: Lift out the ball. Below it, you'll see two small springs and rubber seats. These are common leak points.
- Replace Parts: Replace the springs and seats. You should also replace the O-rings around the base of the faucet body. Apply faucet grease.
- Reassemble: Insert the new ball, cam, and cap. Tighten the cap carefully. Reattach the handle and trim.
Step 4: Test for Leaks
Turn the main water supply back on slowly. Check for any drips or leaks around the faucet base, handle, or showerhead. If you see a leak, shut the water off immediately and re-check your work. Sometimes, a part isn't seated correctly. Minor adjustments can make a big difference.
When to Call a Pro / Replace
While many faucet leaks are DIY-friendly, some situations warrant professional help or a full replacement. If you've tried the repair steps and the leak persists, or if you encounter unexpected problems, it's time to consider other options.
You should call a plumber if:
- The leak persists after two repair attempts. This suggests a more complex issue or incorrect diagnosis. A professional plumber will charge $150 to $400 for a standard repair, but complex issues can exceed $600.
- You can't identify the faucet type or access the internal components. Some older or custom faucets have unusual designs.
- You damage a pipe or fitting during the repair. This can escalate quickly and cause significant water damage. Immediate professional intervention prevents further problems.
- The faucet body itself is cracked or corroded. This can't be repaired with new washers or cartridges. You'll need a full faucet replacement. A new shower faucet costs $80 to $300, plus installation fees of $100 to $250.
If your faucet is over 15 years old and frequently leaks, replacement might be more cost-effective. Modern faucets offer better durability and water efficiency. You could save 10-20% on water usage with a WaterSense-certified model. For those considering a full replacement, check out our guide on basic plumbing repairs every homeowner should know for tips on disconnecting old fixtures. Plus, for sealing around new fixtures, our article a-beginners-guide-to-caulking-and-sealing-at-home offers valuable advice.
Sources
- U.S. Environmental Protection Agency (EPA). "Fix a Leak Week." 2025.
- HomeAdvisor. "How Much Does It Cost To Fix a Leaky Faucet?" 2024.
- International Residential Code (IRC) P2904.3. "Water Service and Distribution." 2021.
FAQ
What causes a shower faucet to leak?
Most shower faucet leaks stem from worn-out internal components. In compression faucets, it's usually the rubber washers or O-rings. Cartridge faucets typically leak due to a degraded or cracked cartridge. Ball faucets often leak because of worn springs, rubber seats, or O-rings. Mineral deposits can also corrode these parts over time.
Can I use universal replacement parts for my shower faucet?
It's generally not recommended to use universal replacement parts. While some O-rings or washers might be interchangeable, faucet cartridges are often brand-specific. Using a non-OEM (Original Equipment Manufacturer) cartridge can lead to poor fit, continued leaks, or even damage to the faucet body. Always try to match the brand and model number of your existing parts.
How do I prevent future shower faucet leaks?
Regular maintenance helps. Avoid overtightening faucet handles, especially with compression types, as this quickly wears out washers. Consider installing a whole-house water softener if you've hard water, which causes mineral buildup and degrades seals. Replacing worn parts proactively during routine bathroom maintenance can extend your faucet's life by several years.