A hole in your drywall, whether from a rogue doorknob or a poorly hung picture, can be an eyesore. But don't despair, fixing it is a common DIY task, much easier than you might think. You don't need a professional for most repairs. With the right tools and a bit of patience, you can achieve a smooth finish that blends perfectly with your existing wall. Let's tackle those holes, big and small, and restore your walls to their pristine condition.
Tools and Materials You'll Need
Before you start, gather everything. A trip to the hardware store for these items will save you multiple trips later:
- For Small Holes (up to 2 inches):
- Spackle or lightweight joint compound
- 5-in-1 painter's tool or putty knife (2-inch or 4-inch)
- Fine-grit sandpaper (150-220 grit)
- Damp sponge or cloth
- Primer and paint
- For Medium Holes (2-6 inches) and Large Holes (over 6 inches):
- Drywall patch kit (self-adhesive mesh or metal patch) OR a piece of drywall cut to size
- Drywall saw (for larger cuts)
- Measuring tape and pencil
- Utility knife
- Drywall joint compound (all-purpose or lightweight)
- Drywall tape (fiberglass mesh or paper tape)
- Putty knives (6-inch and 10-inch for feathering)
- Cordless drill and drywall screws (if using a new drywall piece)
- Wood backing strips (1x2s or similar, for larger patches)
- Fine-grit sandpaper (150-220 grit)
- Damp sponge or cloth
- Primer and paint
Repairing Small Holes (Nail Holes, Screw Holes, Minor Dings)
These are the easiest fixes. Think anything smaller than a quarter.
- Clean the Area: Use a damp cloth to wipe away any dust or loose debris around the hole. If there's any raised paper, gently trim it with a utility knife.
- Apply Spackle: Dab a small amount of spackle or lightweight joint compound onto the tip of your putty knife. Press it firmly into the hole, slightly overfilling it.
- Smooth It Out: Scrape the excess spackle off the wall with the putty knife, leaving a smooth, flat surface. The goal is to make it flush with the surrounding wall.
- Let it Dry: Wait for the spackle to dry completely. This usually takes 30 minutes to a few hours, depending on the product and thickness. It often changes color when dry.
- Sand Smooth: Lightly sand the patched area with fine-grit sandpaper until it's perfectly smooth and blends with the wall.
- Clean and Paint: Wipe away sanding dust with a damp cloth, then prime and paint the area. For best results, consider painting the entire wall to avoid noticeable patch lines.
Repairing Medium Holes (2 to 6 inches)
For holes the size of a fist or smaller, a self-adhesive patch kit is your best friend.
- Prepare the Hole: Gently remove any loose drywall pieces or paper. If the edges are rough, trim them with a utility knife to create a relatively clean opening.
- Apply the Patch: Peel the backing off the self-adhesive mesh or metal patch. Center it over the hole, ensuring it completely covers the damaged area, and press it firmly onto the wall. The patch acts as a solid backing for your compound.
- Apply First Coat of Compound: Using a 6-inch putty knife, apply a thin, even layer of all-purpose joint compound over the entire patch. Feather the edges by applying less pressure and compound as you move away from the center, blending it into the existing wall. This prevents a noticeable hump.
- Let it Dry and Sand: Allow the first coat to dry completely (4-6 hours, sometimes longer). Once dry, lightly sand any high spots or rough edges with fine-grit sandpaper.
- Apply Second Coat: Apply a second, thin layer of joint compound, extending it slightly beyond the first coat's edges. This helps further feather the patch.
- Dry, Sand, and Repeat (if needed): Let it dry fully, then sand smooth. You might need a third, even thinner coat for a invisible repair, especially if you're new to this. The key is thin layers and proper drying.
- Prime and Paint: Once you're satisfied with the smoothness, wipe away dust, prime the area, and paint.
Repairing Large Holes (Over 6 Inches)
This method involves cutting out a square and inserting a new piece of drywall. It's more involved but yields the strongest repair.
- Square Off the Hole: Using a straightedge and pencil, draw a perfect square or rectangle around the damaged area. Make sure the lines extend into solid drywall.
- Cut Out the Damaged Area: Before cutting, check for electrical wiring or pipes inside the wall cavity. Then carefully cut along your pencil lines with a drywall saw. Take your time to make clean, straight cuts. Remove the damaged piece.
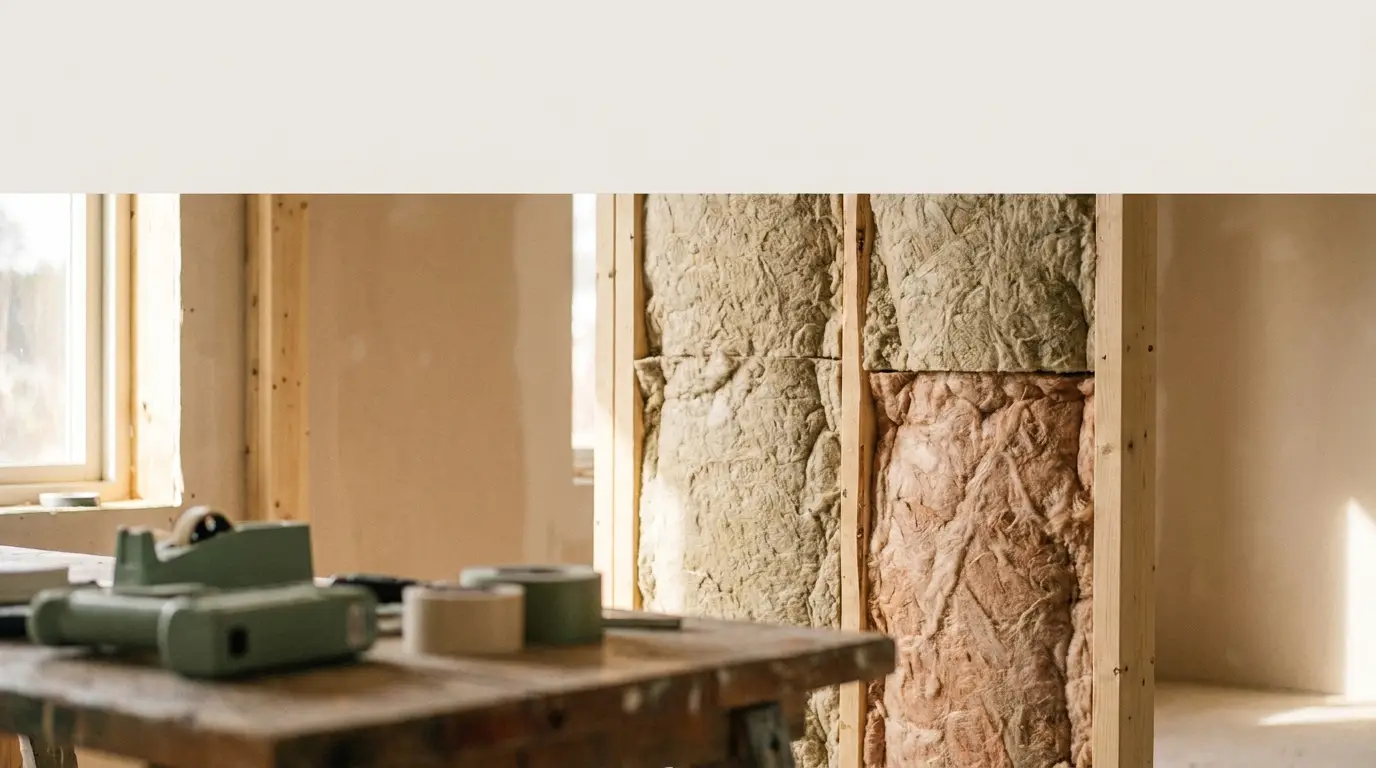
- Prepare Backing Strips: Cut two pieces of 1x2 wood (or similar scrap wood) that are about 4-6 inches longer than the height of your hole. These will serve as anchors for your new drywall piece. Opening the wall also gives you a chance to check that your home insulation is still intact before you patch over it.
- Install Backing Strips: Slide one backing strip into the hole, positioning it behind the existing drywall. Drive drywall screws through the existing drywall into the backing strip, securing it firmly. Repeat with the second backing strip on the opposite side. You should now have two horizontal wood strips spanning the hole, flush with the front of the existing drywall.
- Cut the Patch: Measure the exact dimensions of your cut-out hole. Cut a new piece of drywall to match these dimensions precisely. Aim for a snug fit, but don't force it.
- Install the Patch: Place the new drywall patch into the hole. It should rest against the backing strips. Drive drywall screws through the patch into the backing strips, securing it in place. The screw heads should be slightly recessed, but not breaking the paper. If you're tackling a larger renovation project, knowing how to properly secure these pieces is similar to the techniques for soundproofing existing walls.
- Apply Drywall Tape: Apply self-adhesive fiberglass mesh tape over all the seams where the new patch meets the old drywall. Press it firmly. If using paper tape, apply a thin layer of joint compound first, embed the tape, and then apply another thin coat over the tape.
- First Coat of Compound: Apply a thin, even layer of all-purpose joint compound over the taped seams and screw heads. Use a 6-inch putty knife, feathering the edges as you go.
- Dry and Sand: Let the first coat dry completely (4-8 hours). Lightly sand with fine-grit sandpaper to remove any ridges or bumps.
- Second Coat of Compound: Apply a second, slightly wider coat of joint compound, extending it further out from the seams. Use a 10-inch putty knife for this coat to create a smoother, wider feather.
- Dry and Sand: Allow this coat to dry fully, then sand smooth. If needed, apply a third, thin "skim coat" of compound, feathering it even wider, and sand one last time. The goal is a perfectly flat, smooth surface.
- Prime and Paint: Clean the area of all dust. Apply a quality drywall primer, which helps seal the compound and ensures even paint absorption. Then, paint the wall. For a professional look, it's often best to repaint the entire wall rather than just the patched area, especially when considering different choosing right paint finish options.
Essential Tips for a Flawless Finish
- Thin Coats are Key: Don't try to fill the hole with one thick layer of compound. It will crack and take forever to dry. Multiple thin coats are always better.
- Feathering: This technique is crucial. It means gradually thinning out the joint compound as you move away from the patch, blending it smooth into the existing wall. A wider putty knife (10-inch or 12-inch) helps achieve this for final coats.
- Patience with Drying: Never rush the drying process. Applying another coat or sanding too soon will lead to a messy, uneven finish.
- Good Lighting: Use a strong work light or flashlight held at an angle to the wall. This will highlight any imperfections, humps, or dips that need more sanding or compound.
- Clean Tools: Always clean your putty knives and other tools immediately after use. Dried compound is tough to remove and will make your next repair harder.
- Ventilation: Ensure good ventilation when working with joint compound and paint.
Repairing drywall holes is a skill that improves with practice. Don't be discouraged if your first attempt isn't perfect. Focus on flat, smooth layers and proper feathering. Soon, you'll be patching holes like a pro, and your walls will look as good as new.
FAQ
How many coats of joint compound does a drywall patch need? Most patches need 2-3 thin coats. The first coat fills and embeds the tape, the second smooths the surface, and a third skim coat refines any remaining ridges. Products like DAP DryDex or USG Sheetrock All Purpose shrink as moisture evaporates, so building up thin coats prevents cracking. Each coat needs 4-8 hours of drying time at around 70°F, or overnight for thicker applications.
Can I use spackle instead of joint compound for a hole larger than 2 inches? No. Spackle works fine for holes under 2 inches, but for anything larger, use all-purpose joint compound like DAP All Purpose or USG Sheetrock. Spackle dries harder and more brittle, which causes it to crack over seams on bigger repairs. Joint compound bonds properly with drywall tape, sands more smoothly, and holds up better over patches that span several inches.
How long should I wait between drywall compound coats? Wait at least 4-6 hours between thin coats in a warm, dry room at 65-75°F. In humid conditions or for thicker applications, wait a full 24 hours. The most reliable sign a coat is ready: it shifts from dark gray or pink (wet) to a uniform bright white across the entire surface. Any area that still looks translucent or feels cool to the touch needs more time.
What is the cheapest drywall patch kit that handles holes up to 6 inches? The 3M High Strength Large Hole Repair Kit (around $12-$15) covers holes up to 6 inches and includes the patch panel, compound, and a spreader. For holes up to 4 inches, a self-adhesive fiberglass mesh patch paired with a small tub of DAP Drydex costs under $10 total. Both skip the need for backing strips or a drywall saw, making them the most practical budget options at any hardware store.
Do I need primer before painting a drywall patch? Yes, always prime first. Joint compound is highly porous and absorbs paint unevenly, leaving a dull flat spot called "flashing" even after two finish coats. Use a drywall-specific primer like Zinsser Gardz or Sherwin-Williams PVA Drywall Primer, one coat is enough to seal the compound. Skipping this step wastes finish paint and still leaves a visible patch under almost any sheen level.
Why does a drywall patch crack after it dries? Cracking almost always means the compound was applied too thick in a single coat, or it dried too fast from direct heat or sunlight. Joint compound shrinks as moisture leaves, and layers over 1/8 inch thick crack under their own stress. Sand back the crack, apply lightweight compound like USG Sheetrock All Purpose in thin passes, and keep the room at a steady 65-75°F with no fans or heaters blowing directly on the patch.